
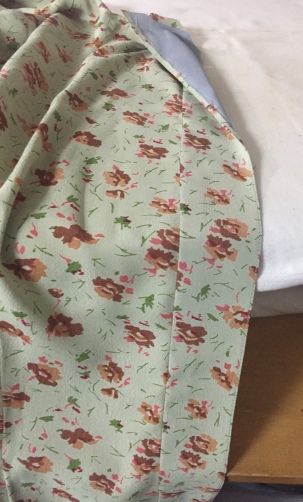
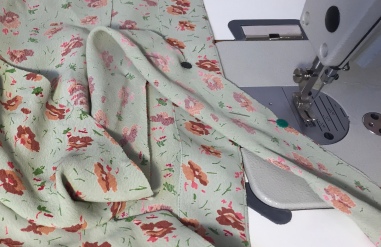
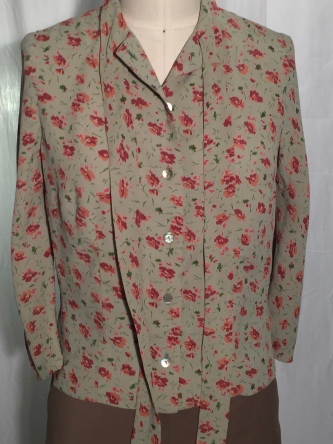
Not bad, two weeks since my last post! As you know I used the same fabric as my last project. I do truly love it! The hang, the print; it’s just so me! I do admit though, this time the picture looks less like the sketch because of the fabric choice. I did change things up a bit, by putting the sleeves and neck tie on the bias. I never thought the tie should be on the straight of grain. Maybe the pattern suggested cutting the tie on the straight of grain because it is easier to sew? Cutting the sleeve on the bias gives it an even more beautiful hang (although tricky to sew) not to mention comfort.
Other things I changed:
- Graded from a “size 16″ (Bust 36”) down one size.
- Made the armhole smaller (I find store bought patterns have a lot of ease including the armhole).
- Not a real change …. the sleeve pattern piece was missing, so I took a sleeve pattern from another pattern from about the same period. It was a 3/4 sleeve with 3 elbow darts, which I thought would work well with the bias cut I used.
The next couple of pics show:
- The sewing of the facing with the tricot fusing applied.
- The clean finish applied to the outer edge of the facing.
- Pressing the seam allowances and facing away from the garment…. so….


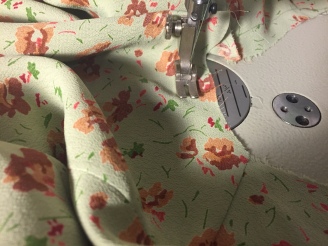
- You can understitch!
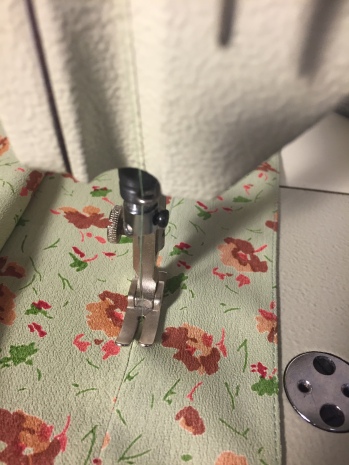
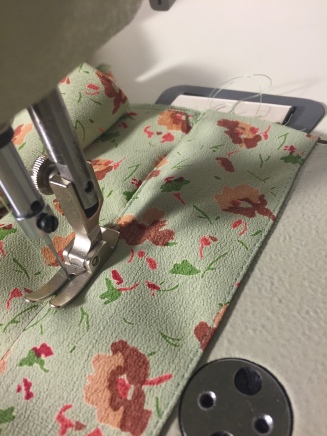
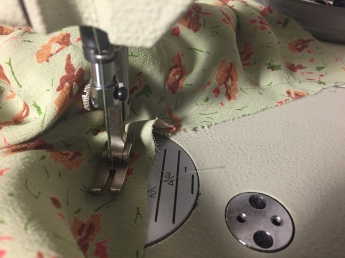
Understitching is a requirement as far as I’m concerned. Not only does it give your garment a more professional appearance but it makes it easier to turn back a facing (keep it in place). It’s not hard to do, just keep the inside edge of the presser foot (first photo) close to the edge of the fold.
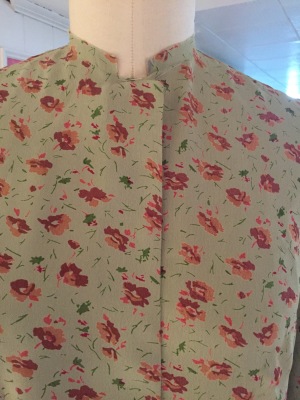
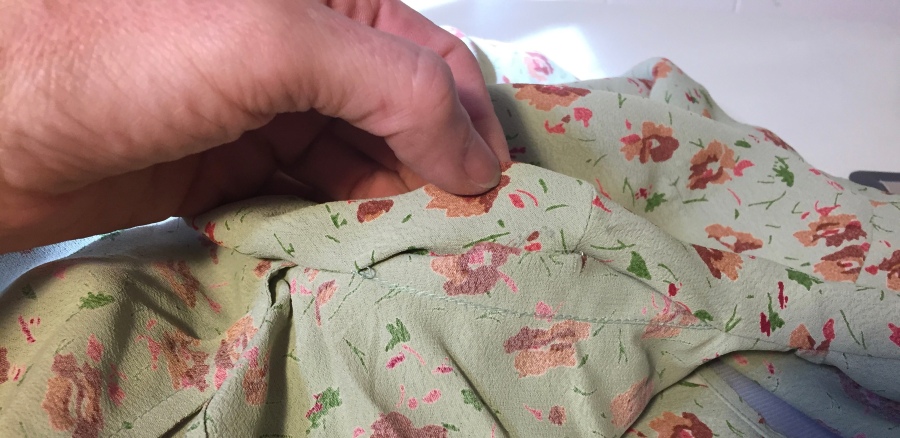
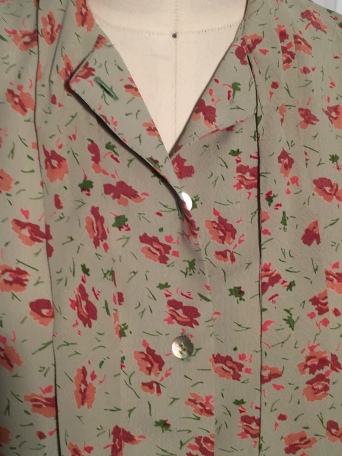
These next photos are the top edge of the CF (center front), where the neckline and facing meet.
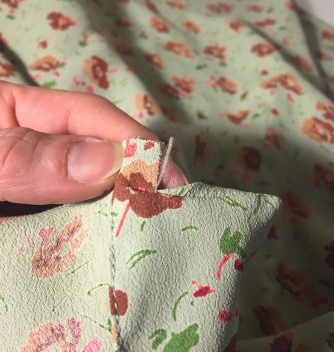
The tie collar doesn’t get sewn all the way to the front edge. You need to have room to tie the collar and button the blouse up as well as the extension. At the top of the facing/neckline in order to have finished edge, you need to pivot into the neckline. use your index finger and thumb to turn the corner to get a beautiful corner (above pic).
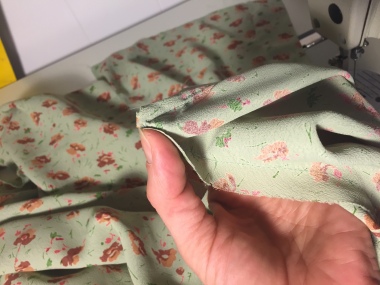
The facing goes passed the point in which the tie is attached, so when the tie is attached the facing lies smoothly (bare with me if you don’t quite get it, the following pictures will explain).
See what I mean? This is the finished facing turned out, neck seam allowances pressed out ready to sew on the neck tie. Can you also see the stay stitching I’ve added to the neck seam line? …..
If you didn’t quite understand what I meant, perhaps looking at the next photos will make it clearer. When stay stitching, make sure that your stitches stay within the seam allowances so when you sew on your tie collar on there is no need to take out the stay stitch!
 Onto the tie collar. This ones hard to explain. First sew the one side of the tie to the inside of the neckline (wrong side of neckline to right side of tie). After that start matching and pinning the tie right sides together at the bottom of the tie. Work yourself up into the neckline.
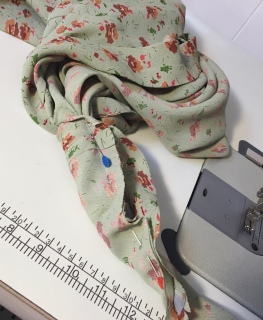 See where the blue pin is on the photo to the right? Well that’s the CB (center back). Because it’s on the bias I temporairly pinned the CB to make sure I don’t stretched the tie as I pin it shut. Continue pining the tie together (at this point you are also pinning the neckline) until you are about 1 1/2″ away from the CB. You need to leave enough open in order to pull the tie to the right side when you’re finished sewing.
See photo below.
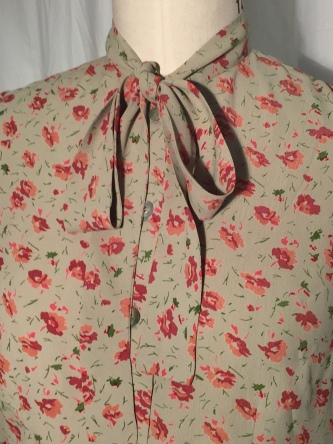
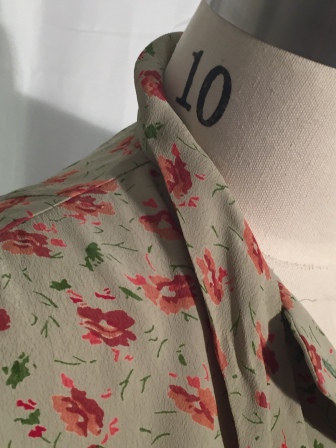
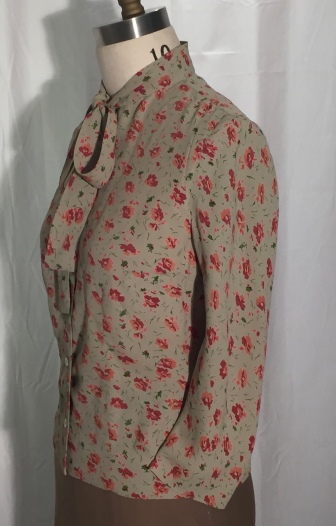
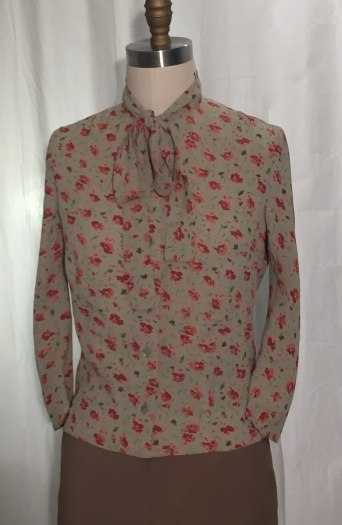
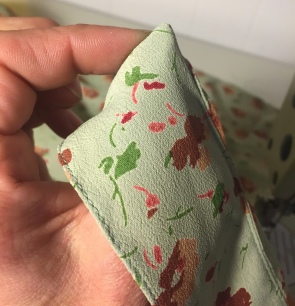
The photos above and below this text highlight the tie showing why I believe putting the tie on the bias was the right choice.
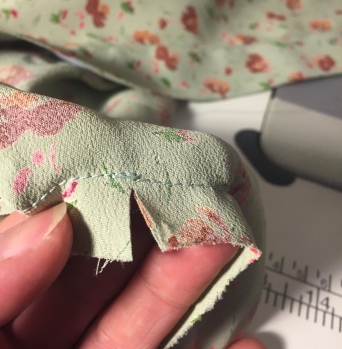
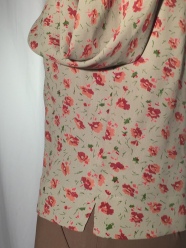 The side seam hem detail
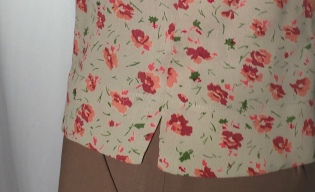
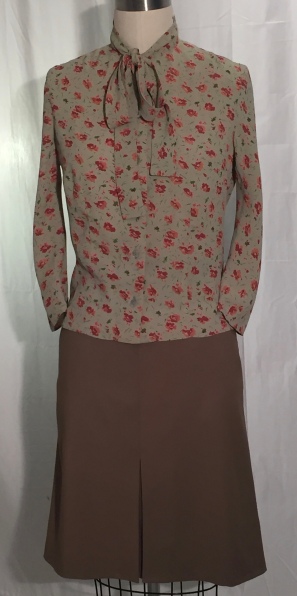
Well that’s it for now. These lasts pics show the blouse with an Aline skirt I made. I think they really compliment each other and will probably wear them together. When I do I’ll post some pictures on my Instagram. 🙂
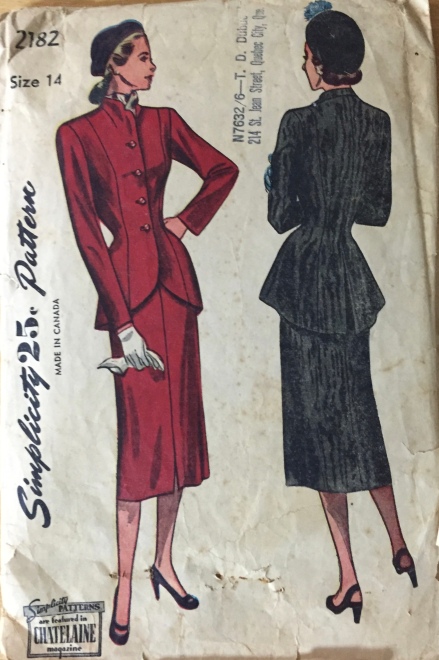
My next project is this early Simplicity 2182, 1940’s Suit Jacket. I’ve cut it out already so it’s all ready to go. Because there is much more involved in “tailoring” a suit jacket, I’m thinking of posting on a daily basis.
I’ve also decided to only use materials available at that time; so tailor’s canvas, cotton tape even handmade shoulder pads. Should be fun! 🙂
Until then,
Happy sewing,
Angela
