
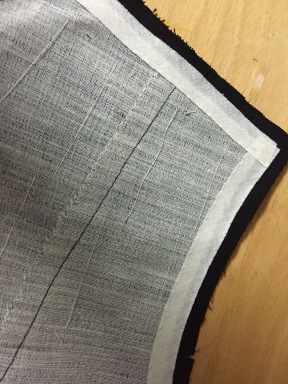
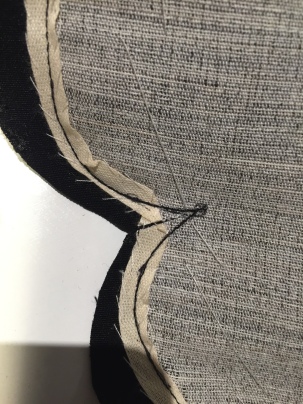
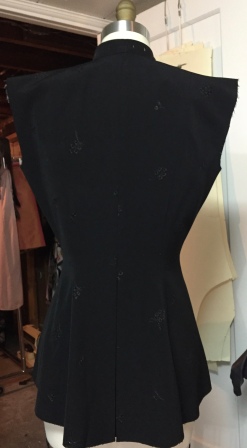
This suit is coming along beautifully and that has nothing to do with the instructions (if you can call them that). Honestly I don’t know what women did back then, that weren’t that skilled in sewing and wanted to take on a project like this. 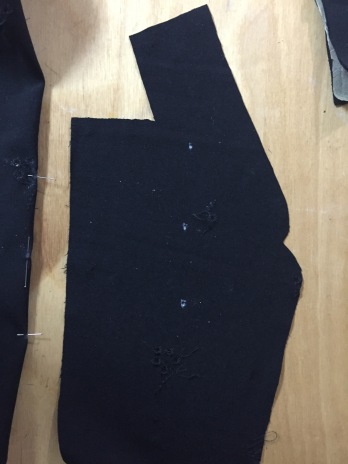 It took me a while to figure out the dart at the front neckline. I’m familiar with darting out a jacket here, it’s just that the pattern only had three marks and the instructions didn’t tell you how much the “fish eye dart” excess was. And that’s what I mean about the instructions unless you knew something about tailoring you would never know what kind of dart it was let alone the amount.
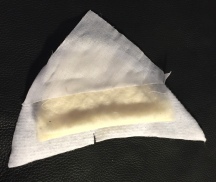
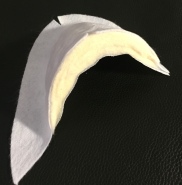
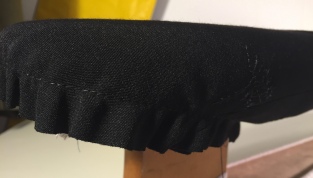
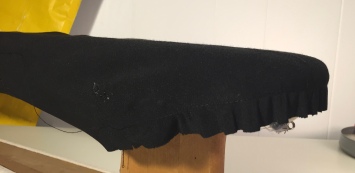
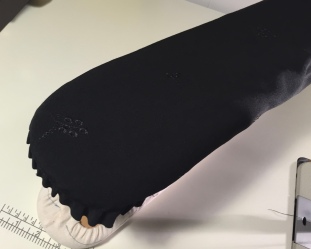
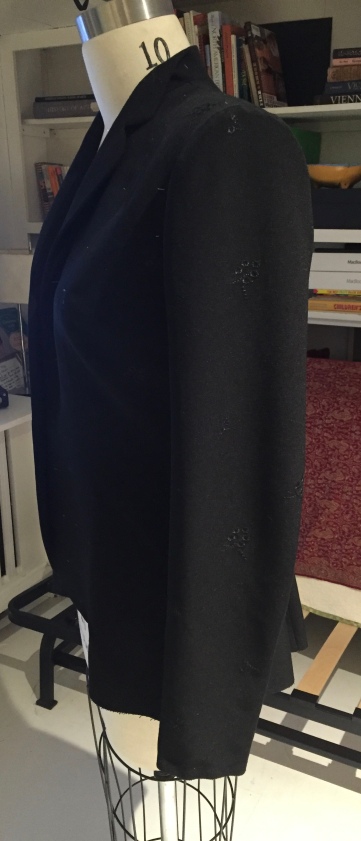
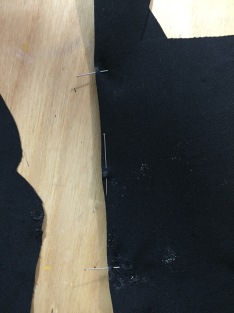 So as the two photos show I opted for a safe 1/4″ dart excess and it does sit smoothly.
Building the Body:
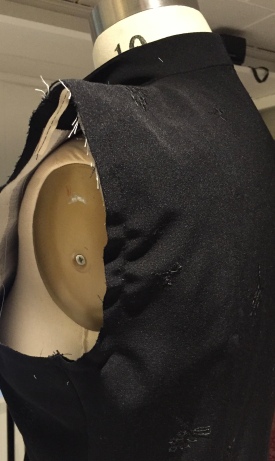
It was when the instructions told me to only use tailor’s canvas on the CF piece that I took matters into my own hands. I own two 40’s jackets and decided to open them up and see what was inside. Sure enough both of them had the canvas going to the end of the shoulder and wrapping around the armhole, so that’s what I did. The jackets also had cotton; I want to say broadcloth but maybe a little stiffer than broadcloth (like a shirt weight cotton), sewn into the back shoulders. So that’s what I did too. I cut the piece into two, overlapping at the CB, for mobility.
I also used the same cotton, cut on the bias for all the hems, as well as the sleeve heads and at the bust princess line. The jackets I had didn’t do this but my fabric is much lighter weight and you could see the rippling of the seam allowances on the right side of the garment. It did the trick!
I used tailor’s tape around the front, bias tape around the armholes, diagonally basting them into place. I did try to pad stitch (photo above on the right) but again because the weight of the fabric, even the smallest of pricks showed on the right side. So yes I did, took them all out. I had only done one side so it was that bad.
above photos: (right to left) bias tape, diagonal basting & preparing the collar notch for sewing
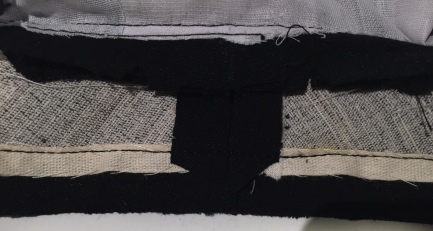
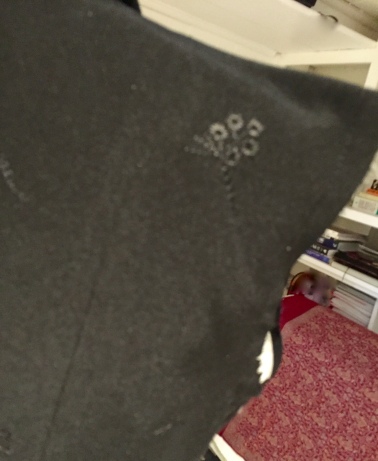
above photo: CB collar and neck (see the cotton used for the back shoulders)
above photo: facing and collar all sewn in and pressed (very pleased!)
On to the Shoulder Pads:
Because my aim is to make this as close to an original 40’s jacket (other than the fabric) I decided to make my own shoulder pads. I again looked inside the vintage jackets I own and replicate the shoulders from them.
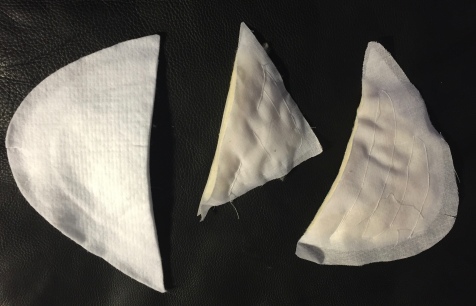
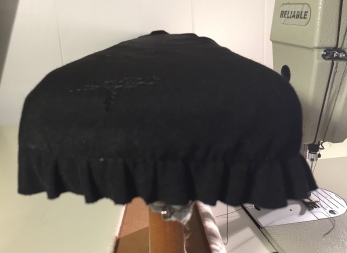
I started with 3 different shoulder pads.
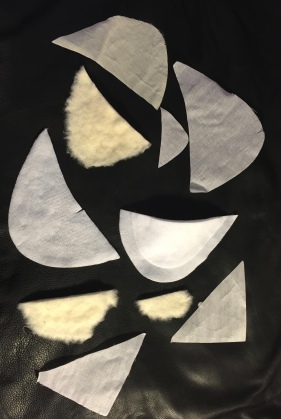
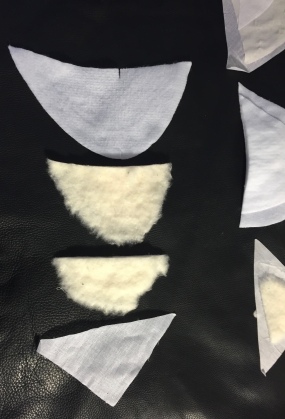
dissected them to create a shoulder pad that was darn close to the original1

The Sleeves:
Of course before we can put in the sleeves we need to prepare the armholes. The instructions said nothing of this but I knew this was an important step. Adding tailor’s tape in the armhole would keep it’s shape giving for more mobility. In the book: Classic Tailoring Techniques by Roberto Cabrera & Patricia Flaherty Meyers, they explain the technique of shaping the tape before it is applied and then when basting it in, baste tiny ripples of ease (no more then 3/8″ in total) into the jacket for about 1 1/2″ at around the shoulder blade level. Then go to iron and steam the ripples away. (see photos below). After all the steaming was done I basted the shoulder pads in place
Preparing the Sleeves: Easing in the SA so you can steam & shape the sleeve head into place.
The sleeves Set-in: You can see some rippling of the SA at the sleeve cap but that’s because I haven’t put in the bias cotton sleevehead yet. I promise it all goes away.
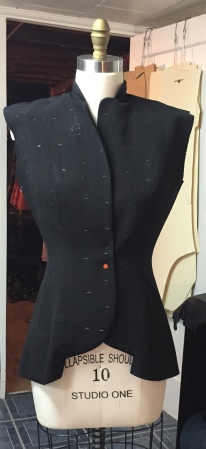
I think this is a good spot to stop Part 1. In truth I am almost finished the jacket but thought this post would be too long without two parts. The lining is partially in and I am going to do the majority of the finishings by hand. Should have part 2 out shortly.

Looking gorgeous. They do seem to have had more shape back then, but I’m sure that’s because of all the structured undergarments they had to wear! Lucky us, maybe!
LikeLike
Thanks Linda, I can hardly wait to wear it! Thankfully because of the excessive ease in store bought pattern along with the 5/8″ SA all I had to do is sew all the seams at the waist at 1/2″ SA to fit my “un-girdled” waist! Phew!
LikeLike
[…] here it is! If you recall I posted a Part 1 of this 1940s Suit jacket. Well here’s Part 2. I left the last post with the shell completely sewn together and only […]
LikeLike